In my trainings I use Unetlab environment. I recommend to everyone use Unetlab and get rid of GNS3, because difference in performance and support of different vendors is huge. Last year Mikrotik announced their RouterOS license for virtual machines, called Cloud Hosted Router (CHR). I’m going to show how to setup CHR in Unetlab in few steps during 5 minutes.
First of all – we need to get chr image of latest Mikrotik RouterOS http://www.mikrotik.com/download, download the VMDK image.
Then copy it with scp to your Unetlab server, in my case
scp Downloads/chr-6.34.1.vmdk root@10.0.1.189:/home
Then run these commands on Unetlab server in CLI to create valid image for Unetlab and place it to right directory.
# /opt/qemu/bin/qemu-img convert -f vmdk -O qcow2 chr-6.34.1.vmdk hda.qcow2
# mkdir -p /opt/unetlab/addons/qemu/mikrotik-6.34.1
# mv hda.qcow2 /opt/unetlab/addons/qemu/mikrotik-6.34.1/
# /opt/unetlab/wrappers/unl_wrapper -a fixpermissions
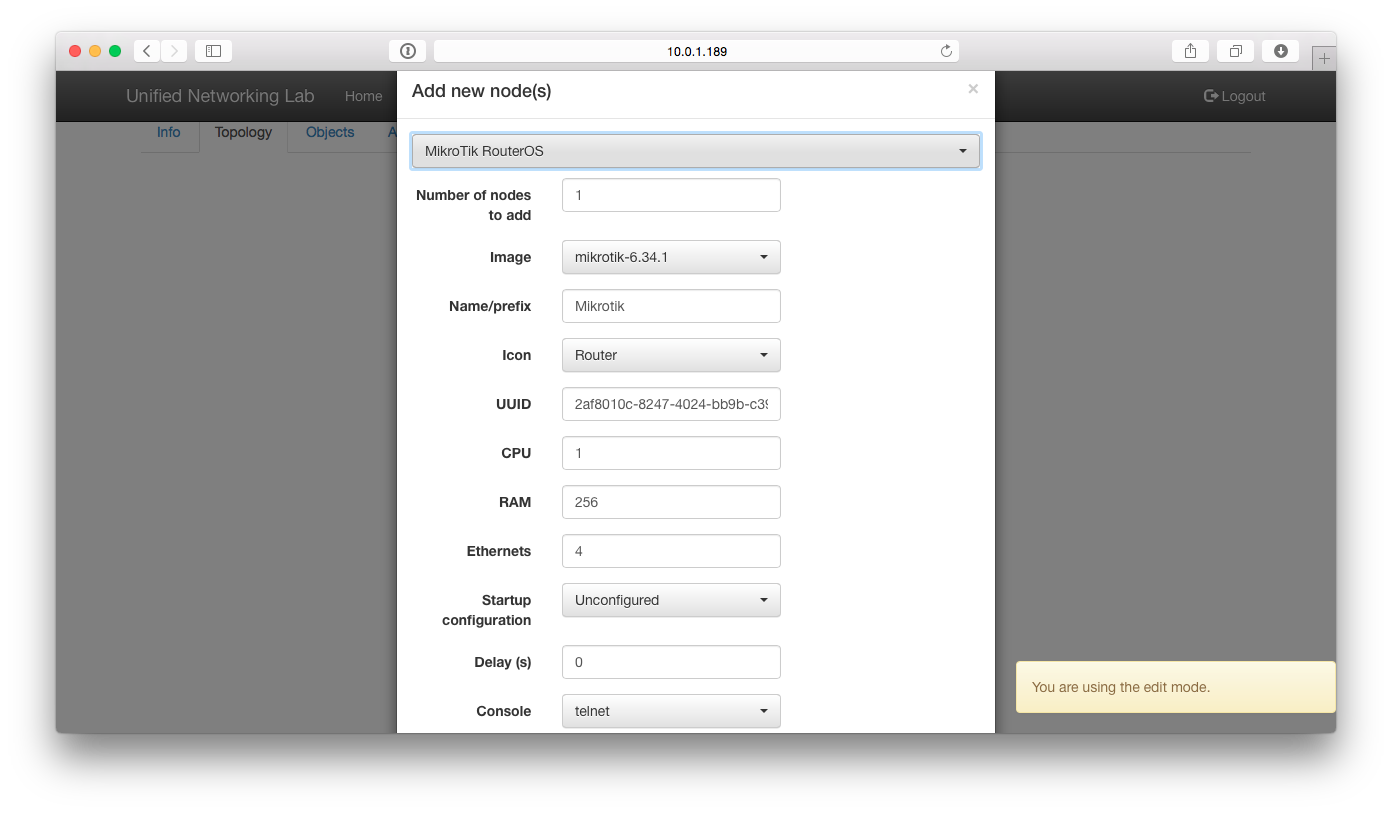
When this is done, you should be able to see mikrotik image on adding of new node window –
Don’t forget to setup VNC as default connection type to device.
When router is added, we can setup new network pointing to Pnet0 bridge, connect chr router to our office network, assign to it IP address and login and manage from Winbox.
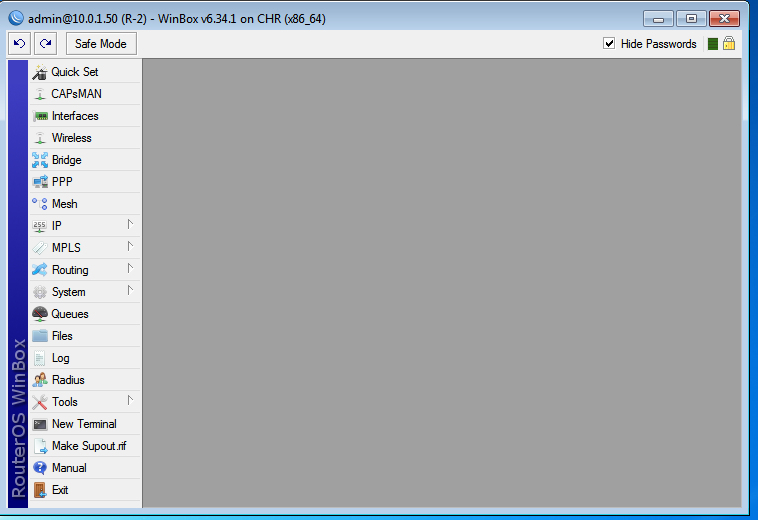
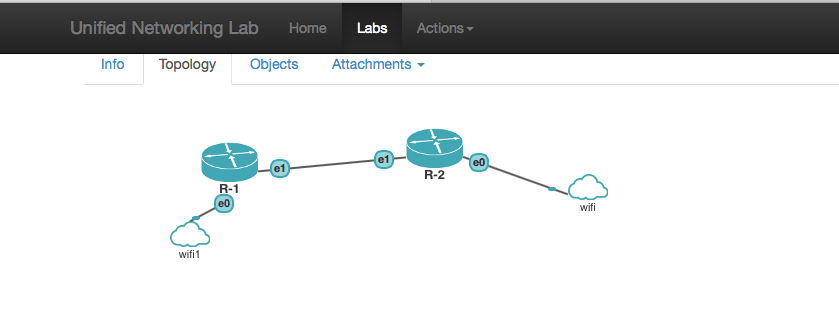
The final result with 2 CHR routers connected to each other with access to it from my office network is shown on two pictures below.
Access directly to mikrotik CHR:
Topology :
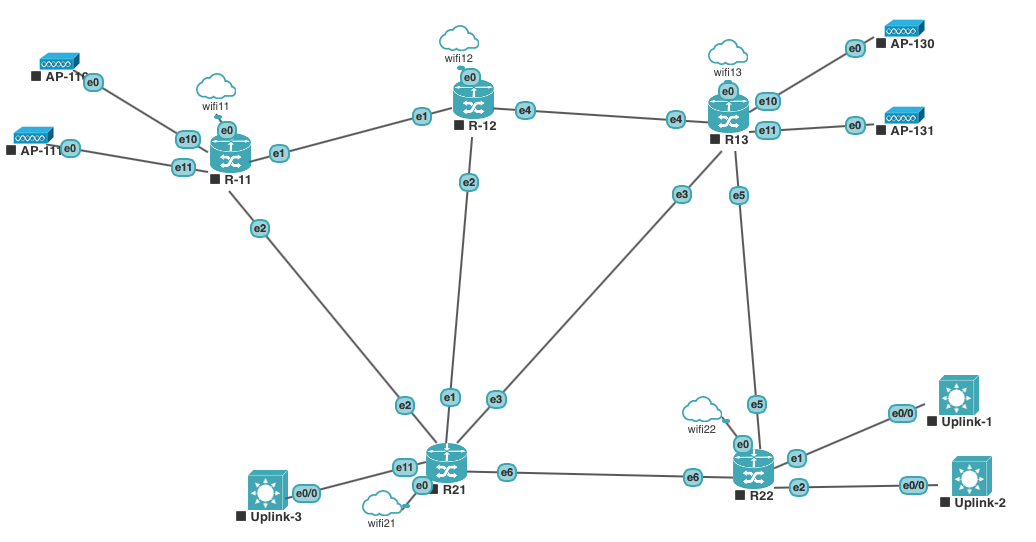
Here is mine topology, which I use on Mikrotik trainings with students :
Here is a video tutorial showing steps of configuration:


